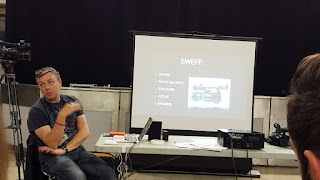
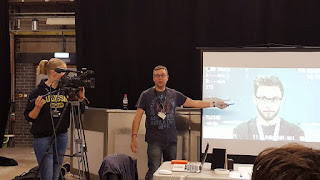
 I found these cameras fairly easy to use and I was pretty confident with using these with each part we went through as I'd had to use similar cameras on my previous college course, although those were Canon XF305 cameras. But the layout of the cameras are very similar. Fergus and Sam talked us through something called 'SWEFF' which can be used as a checklist for setting up your shot before a shoot. each letter stands for something different for the camera.
S - Sound:
Audio is 50% of our videos with dialogue, sound effects, background noise, wild tracks, etc. so we needed to know how to set up the Rode shotgun microphones correctly and make sure that the audio was clear and of a good quality. We were shown how to set up the boom poles, shotgun microphones and the wind shield and then how to monitor and adjust the sound.
W - White Balance:
The White Balance is the colour temperature in the shot. You want it to look as best as possible and correct for the location. Outside the light is very blue and bright due to the natural lighting. If somewhere was lit by candle light it would be very red and orange. Messy with the white balance can get a good look though, I found that adjusting the white balance so the shot looked more blue works for a horror scene or somewhere that you want the mood to be much more sad or down. Although this can also be achieved in post production and the result would probably be better.

E - Exposure
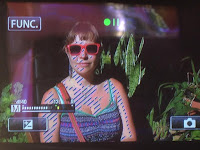
Exposure is the amount of light that can be seen in the shot. This can be adjusted by changing the Iris, there's also a setting called 'Zebra' on the camera which shows you sections of the shot that are over exposed. After speaking to Sam he told me that setting is commonly used when recording close ups on faces to make sure that the lighting is even throughout and not over exposed on sections like the forehead or cheeks. We didn't really touch on exposure in this workshop although I did try out this zebra setting in the camera.

F - Focus
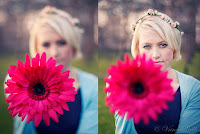
Focus is what we worked on the most in this workshop. This is what you use to make sure that everything is nice and crisp and not soft. Using auto focus can mess up a shot if there's lots of movement going on but personally I'm confident using focus. We worked on pull focus quite a bit which would involve focusing on a class mate and then focusing on the class mate standing in front of him and just getting the flow of it right and making it seamless so you wouldn't notice it in the shot. What we also tried was having a classmate walking toward the camera and zooming out but staying in focus as we did it. This was difficult but I found a technique that worked well and that was using the zoom tag rather than the ring with one hand and then using my other hand to focus, this worked and got a nice movement to the shot.

F - Framing
Framing the shot is really important. Depending on what is going on in the shot will give you an idea of how to frame it. With an interview you'd want to have a medium close up, only showing the upper half of the chest up to the head as that's where the focus would be. However, with someone walking down a street you would probably want to have a wide shot and them walking towards the camera. It all depends on the action going on.
The workshop helped me get a feel for the cameras we have available at Maidstone and some of the techniques (particularly pull focus) I'm already putting into ideas for shots I could use in my first project. Although practice with the equipment is what I'll need to do more I think.


No comments:
Post a Comment